Summer Berry Pavlova
|
Getting your Trinity Audio player ready...
|
Every summer, I look forward to the first harvest of local strawberries and raspberries. My wife, Evelyn, starts asking for her favorite dessert as soon as the sun stays out past seven o’clock. That dessert is my signature Summer Berry Pavlova.
I remember the first time I made a Summer Berry Pavlova for her back when we were first married. I wanted to show off my chef skills with something elegant. However, I soon realized that the beauty of a Summer Berry Pavlova lies in its simplicity.
Now that our daughters are 19 and 15, they have joined the tradition. My oldest daughter loves to whip the heavy cream, while our youngest carefully selects the brightest berries for the top. We believe food is love, and this Summer Berry Pavlova is our favorite way to share that love with friends and family.
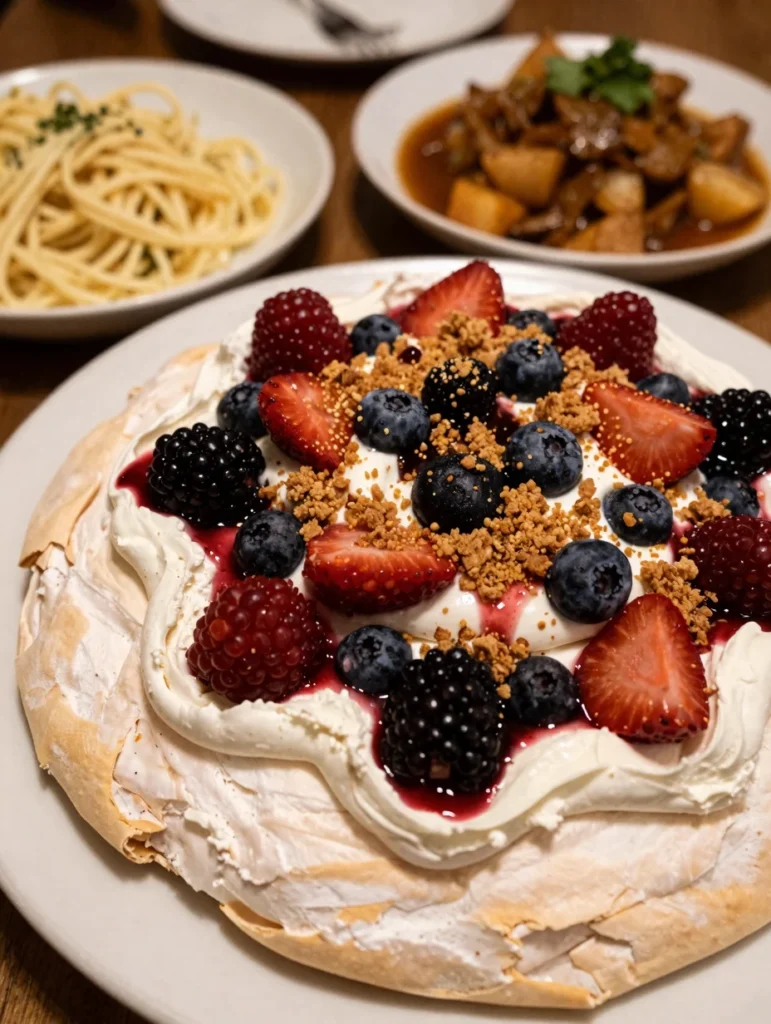
This dish looks like a fluffy cloud on a plate. It offers a crisp outer shell and a soft, marshmallow-like center. When you top a Summer Berry Pavlova with fresh fruit and whipped cream, you create the ultimate seasonal treat.
You do not need a professional kitchen to master this recipe. I designed this version of the Summer Berry Pavlova to be stress-free and straightforward for any home cook. We want you to enjoy the process as much as the final bite.
Why You’ll Love This Summer Berry Pavlova
You will love this Summer Berry Pavlova because it strikes the perfect balance between textures. Many desserts feel heavy during the hot months, but this Summer Berry Pavlova feels light and refreshing. It uses only a few basic pantry staples, which makes it an affordable luxury for any weekend gathering.
Furthermore, the Summer Berry Pavlova is naturally gluten-free. This makes it a fantastic option when you host guests with dietary restrictions. You can customize the toppings based on what is growing in your garden or what is on sale at the local market.
My daughters often experiment with different fruit combinations, yet we always return to the classic Summer Berry Pavlova style. The contrast between the tart berries and the sweet meringue creates a flavor profile that everyone enjoys. Additionally, you can bake the base of the Summer Berry Pavlova in advance.
This saves you time on the day of your party. You simply assemble it right before serving to keep the crust perfectly crisp. This Summer Berry Pavlova is a showstopper that requires very little active work time. It proves that simple ingredients can produce extraordinary results when you treat them with a little bit of care.
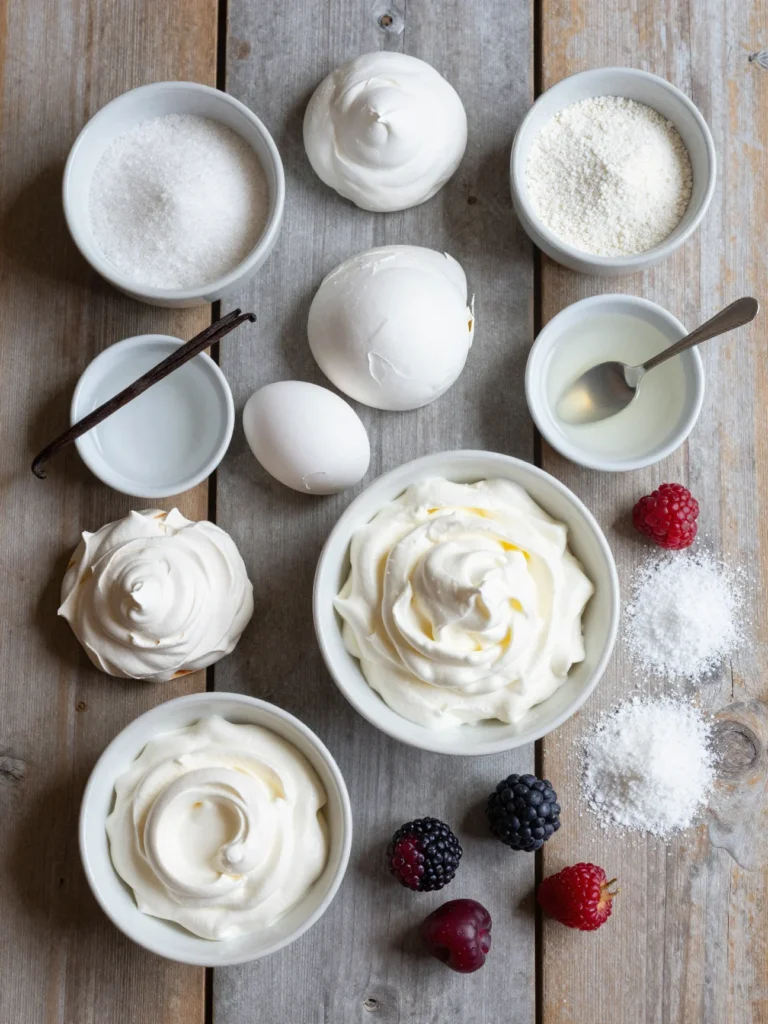
Ingredients You’ll Need
To make a high-quality Summer Berry Pavlova, you need fresh ingredients. We always use room temperature eggs because they whip up much better than cold ones. The sugar provides the structure, while the vinegar and cornstarch create that signature soft center inside your Summer Berry Pavlova.
For the topping, look for the ripest berries you can find. Freshness really matters when you prepare a Summer Berry Pavlova.
| Ingredient | Amount | Purpose |
|---|---|---|
| Egg Whites | 6 large | Provides the base structure and volume. |
| Granulated Sugar | 1.5 cups | Sweetens and stabilizes the meringue. |
| Cornstarch | 2 teaspoons | Creates a marshmallow-like interior. |
| White Vinegar | 1 teaspoon | Helps the egg whites hold their shape. |
| Vanilla Extract | 1 teaspoon | Adds a warm, classic flavor. |
| Heavy Whipping Cream | 1.5 cups | Forms the creamy topping layer. |
| Mixed Fresh Berries | 3 cups | Adds tartness and bright color. |
| Powdered Sugar | 2 tablespoons | Lightly sweetens the whipped cream. |
Substitutions & Variations
You can easily adapt the Summer Berry Pavlova to suit your personal preferences. If you do not have white vinegar, try using lemon juice or cream of tartar. Both ingredients provide the acidity needed to stabilize the egg whites in your Summer Berry Pavlova.
Some people prefer using superfine sugar, also known as caster sugar, because it dissolves faster. You can make your own by pulsing regular sugar in a food processor for a few seconds. For a tropical twist on the Summer Berry Pavlova, swap the berries for mango and passion fruit.
If you want a chocolate version, gently fold in some cocoa powder before baking. My daughter occasionally adds a layer of lemon curd beneath the berries for extra zing. You can also make individual mini pavlovas instead of one large Summer Berry Pavlova.
This works great for dinner parties where you want to serve personal portions. If you need a dairy-free option, use whipped coconut cream instead of heavy dairy cream. The Summer Berry Pavlova is a versatile canvas for your culinary creativity.
No matter which fruit you choose, the core technique remains the same. Always focus on maintaining the airy structure of the meringue base.
You can easily adapt the Summer Berry Pavlova to suit your personal preferences. For a tropical twist on the Summer Berry Pavlova, consider trying a Summer Coffee Cold Brew Float.
Step-by-Step Instructions
Follow these steps to create a perfect Summer Berry Pavlova every single time. Patience is your best friend when working with meringue. First, preheat your oven to 300 degrees Fahrenheit.
Line a large baking sheet with parchment paper. Use a bowl to draw a 9-inch circle on the paper, then flip the paper over so the ink does not touch your Summer Berry Pavlova. Place your room temperature egg whites into a clean, dry glass or metal bowl. Avoid plastic bowls as they can hold onto hidden fats that deflate egg whites.
Next, beat the egg whites on medium speed until soft peaks form. Gradually add the granulated sugar one tablespoon at a time while continuing to beat the mixture. This process takes time, so do not rush it.
Continue beating until the mixture becomes stiff, glossy, and thick. You should not feel any grains of sugar when you rub a little mixture between your fingers. At this point, gently fold in the vanilla extract, vinegar, and cornstarch.
Use a spatula to move the mixture from the bottom to the top without crushing the air bubbles. This is the secret to a light Summer Berry Pavlova.
Spread the meringue onto the prepared parchment paper within the circle you drew. Use your spatula to create a slight crater in the center and build up the sides. This shape will hold the cream and fruit later.
Lower the oven temperature to 250 degrees Fahrenheit and place the Summer Berry Pavlova inside. Bake for about 75 to 90 minutes. The exterior should feel dry and firm to the touch.
Once the time is up, turn off the oven and crack the door open slightly. Let the Summer Berry Pavlova cool completely inside the oven for at least two hours. This slow cooling prevents the meringue from cracking too much.
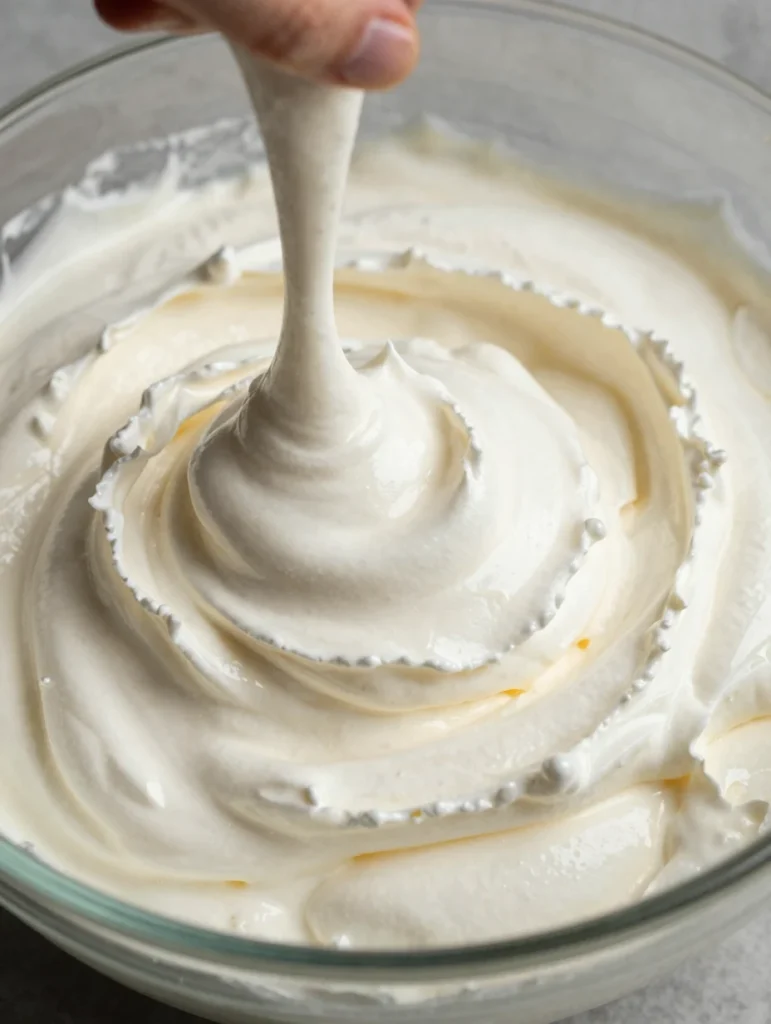
While the base cools, prepare your toppings. Whip the heavy cream with the powdered sugar until soft peaks form. Do not over-beat the cream, as you want it to look billowy.
Once the Summer Berry Pavlova base is cold, move it carefully to a serving platter. Spread the whipped cream into the center of the meringue. Finally, pile the fresh berries on top in a decorative fashion.
Serve your Summer Berry Pavlova immediately to enjoy the best texture. Your family will be amazed by the beautiful presentation of this simple dessert.
Pro Tips for Success
Success with a Summer Berry Pavlova depends on a few key details. Always ensure your whisk and bowl are completely grease-free. Even a tiny drop of egg yolk can prevent the whites from fluffing up.
I recommend cracking each egg into a small separate bowl before adding the white to the main mixing bowl. This prevents one broken yolk from ruining the whole batch of your Summer Berry Pavlova. Furthermore, watch the weather forecast.
High humidity can make a Summer Berry Pavlova sticky or chewy because sugar absorbs moisture from the air. If it is a very rainy day, you might want to wait for a drier afternoon to bake.
Another tip involves the cooling process. Never rush the cooling of your Summer Berry Pavlova. Rapid temperature changes cause the meringue to collapse or shatter.
Let it sit in the turned-off oven until it reaches room temperature. If your Summer Berry Pavlova develops small cracks, do not worry. These cracks are normal and add to the rustic charm of the dish.
The whipped cream will cover most imperfections anyway. Use a very sharp knife to cut the Summer Berry Pavlova when serving. Wipe the knife between each slice to get clean cuts. This keeps the Summer Berry Pavlova looking professional and appetizing for every guest.
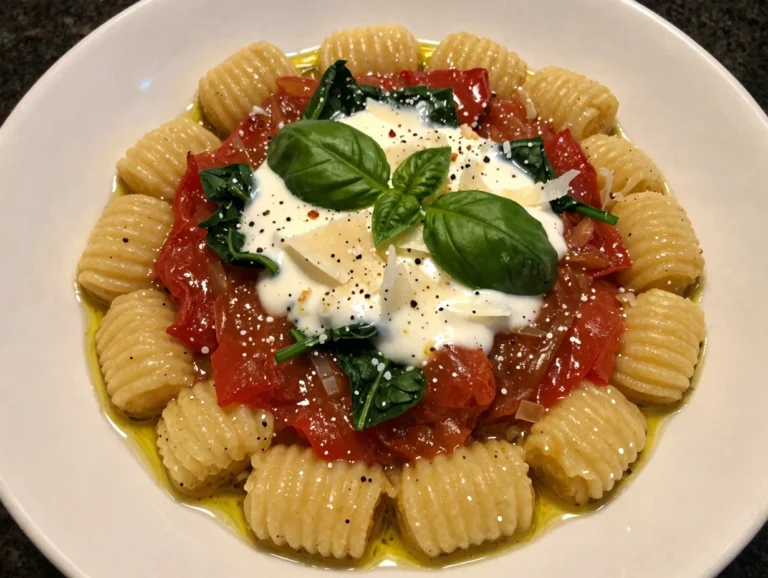
Success with a Summer Berry Pavlova depends on a few key details. To ensure a delightful experience, check out the tips in Summer Pasta with Burst Tomatoes.
Storage & Reheating Tips
The Summer Berry Pavlova is best when you eat it fresh. Once you add the whipped cream and berries, the moisture begins to soften the meringue. If you have leftovers, store them in the refrigerator for up to 24 hours.
Be aware that the crust will lose its crunch. You should never freeze a fully assembled Summer Berry Pavlova. However, you can store the unadorned meringue base for a few days.
Place the cooled, plain meringue in an airtight container at room temperature. Keep it in a cool, dry place away from the stove or sink.
If the base of your Summer Berry Pavlova becomes a bit soft due to humidity, you can try to crisp it up. Place it back in a 200 degree Fahrenheit oven for 15 to 20 minutes. Let it cool again before adding any toppings.
I do not recommend reheating a Summer Berry Pavlova that already has cream on it. The cream will melt and create a mess. For the best experience, only assemble the portion of the Summer Berry Pavlova that you plan to eat immediately.
This keeps the dessert at peak quality. My family usually finishes a whole Summer Berry Pavlova in one sitting, so storage is rarely an issue for us.
What to Serve With This Recipe
The Summer Berry Pavlova is a star on its own, but you can pair it with other items to enhance the experience. A glass of chilled Moscato or a light rosé complements the sweetness of the Summer Berry Pavlova perfectly. For a non-alcoholic option, serve a sparkling lemonade with fresh mint.
If you are hosting a larger party, offer a side of extra berry coulis or a chocolate sauce. Some people enjoy a scoop of vanilla bean ice cream alongside their Summer Berry Pavlova.
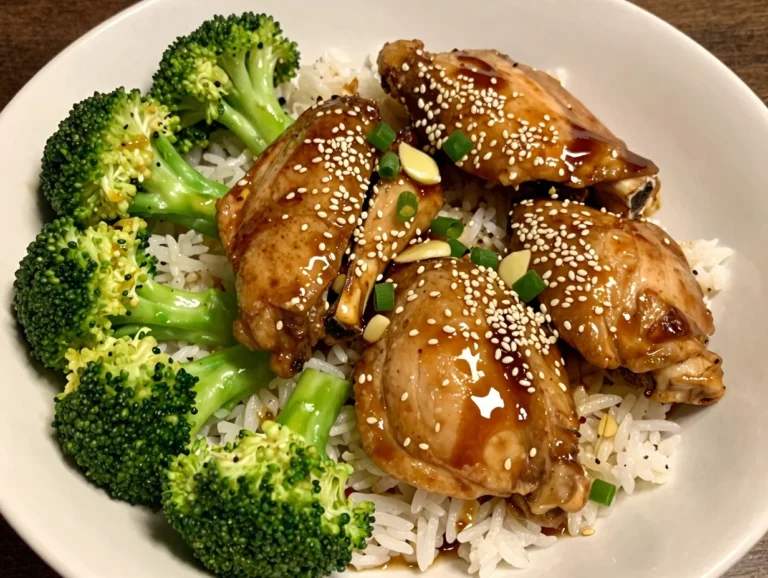
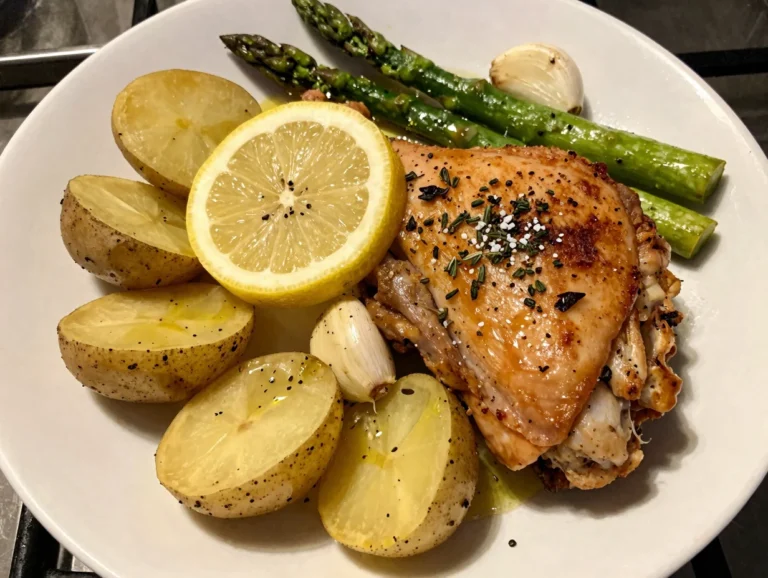
Since this is a summer dessert, it follows grilled meats and fresh salads beautifully. We often serve the Summer Berry Pavlova after a meal of grilled chicken and a bright kale salad. The lightness of the meringue provides a refreshing end to a savory barbecue.
You can also serve a platter of nuts or a selection of mild cheeses to balance the sugar. Coffee and espresso also provide a nice bitter contrast to the sugary base of the Summer Berry Pavlova. No matter what you choose, keep the pairings simple so the Summer Berry Pavlova remains the centerpiece of the table.
The Summer Berry Pavlova is a star on its own, but you can pair it with other items to enhance the experience. For a delicious side, consider serving it alongside Summer Dinner Flatbread.
Nutrition Information (per serving)
This Summer Berry Pavlova provides a lighter alternative to traditional cakes and pies. It is low in fat, especially if you use a light touch with the whipped cream. Most of the calories in a Summer Berry Pavlova come from the sugar and the dairy. Below is an estimate for one serving based on a recipe that serves eight people.
| Nutrient | Amount per Serving |
|---|---|
| Calories | 280 kcal |
| Total Fat | 11g |
| Saturated Fat | 7g |
| Cholesterol | 40mg |
| Sodium | 45mg |
| Total Carbohydrates | 42g |
| Dietary Fiber | 2g |
| Sugars | 38g |
| Protein | 4g |
FAQs
Can I make Summer Berry Pavlova ahead of time?
Yes, you can bake the meringue base for the Summer Berry Pavlova up to two days in advance. Store it in a completely airtight container at room temperature. Do not refrigerate the plain meringue, as the moisture will ruin it.
You should only add the whipped cream and berries right before you serve the Summer Berry Pavlova to your guests. This ensures the crust stays crispy and the center remains soft.
Why did my Summer Berry Pavlova collapse?
A Summer Berry Pavlova usually collapses if it cools down too quickly or if the egg whites were not beaten enough. Sudden changes in temperature cause the air bubbles to shrink rapidly. Always let your Summer Berry Pavlova cool slowly inside the oven with the door cracked.
Additionally, make sure you beat the sugar into the whites until you achieve very stiff peaks. This creates the structural integrity needed to hold the weight of the toppings.
Is Summer Berry Pavlova gluten-free?
Yes, a traditional Summer Berry Pavlova is naturally gluten-free. It uses egg whites, sugar, cornstarch, and vinegar, none of which contain gluten. This makes the Summer Berry Pavlova an excellent dessert choice for people with Celiac disease or gluten sensitivities.
Always check the labels on your vanilla extract and cornstarch to ensure they are processed in a gluten-free facility. Your guests will appreciate having such a delicious and safe dessert option.
Can I use frozen berries for a Summer Berry Pavlova?
I do not recommend using frozen berries for a Summer Berry Pavlova. Frozen fruit releases too much liquid as it thaws, which will turn your crisp meringue into a soggy mess. Fresh berries provide the best texture and visual appeal.
If you must use frozen fruit, cook it down into a thick sauce first and let it cool completely. Drizzle the sauce over the Summer Berry Pavlova sparingly just before eating.
How do I know when the Summer Berry Pavlova is done?
Your Summer Berry Pavlova is finished when the outside feels dry and hard to the touch. It should have a pale cream color rather than a brown or toasted look. If the meringue starts to turn brown, lower your oven temperature immediately.
The Summer Berry Pavlova should easily pull away from the parchment paper without sticking. Remember that it will continue to firm up as it cools inside the oven, so do not over-bake it.

Summer Berry Pavlova
Ingredients
Method
- Preheat your oven to 300 degrees Fahrenheit and line a baking sheet with parchment paper.
- Draw a 9-inch circle on the parchment paper, then flip it over.
- Place room temperature egg whites in a clean, dry bowl and beat on medium speed until soft peaks form.
- Gradually add granulated sugar one tablespoon at a time while continuing to beat until stiff peaks form.
- Gently fold in vanilla extract, vinegar, and cornstarch.
- Spread the meringue onto the parchment paper within the circle, creating a slight crater in the center.
- Lower the oven temperature to 250 degrees Fahrenheit and bake for 75 to 90 minutes until dry and firm.
- Turn off the oven and let the pavlova cool inside for at least two hours.
- Whip the heavy cream with powdered sugar until soft peaks form.
- Once cooled, transfer the pavlova to a serving platter, spread whipped cream in the center, and top with fresh berries.
Notes
Or browse by category:
As an Amazon Associate I earn from qualifying purchases.