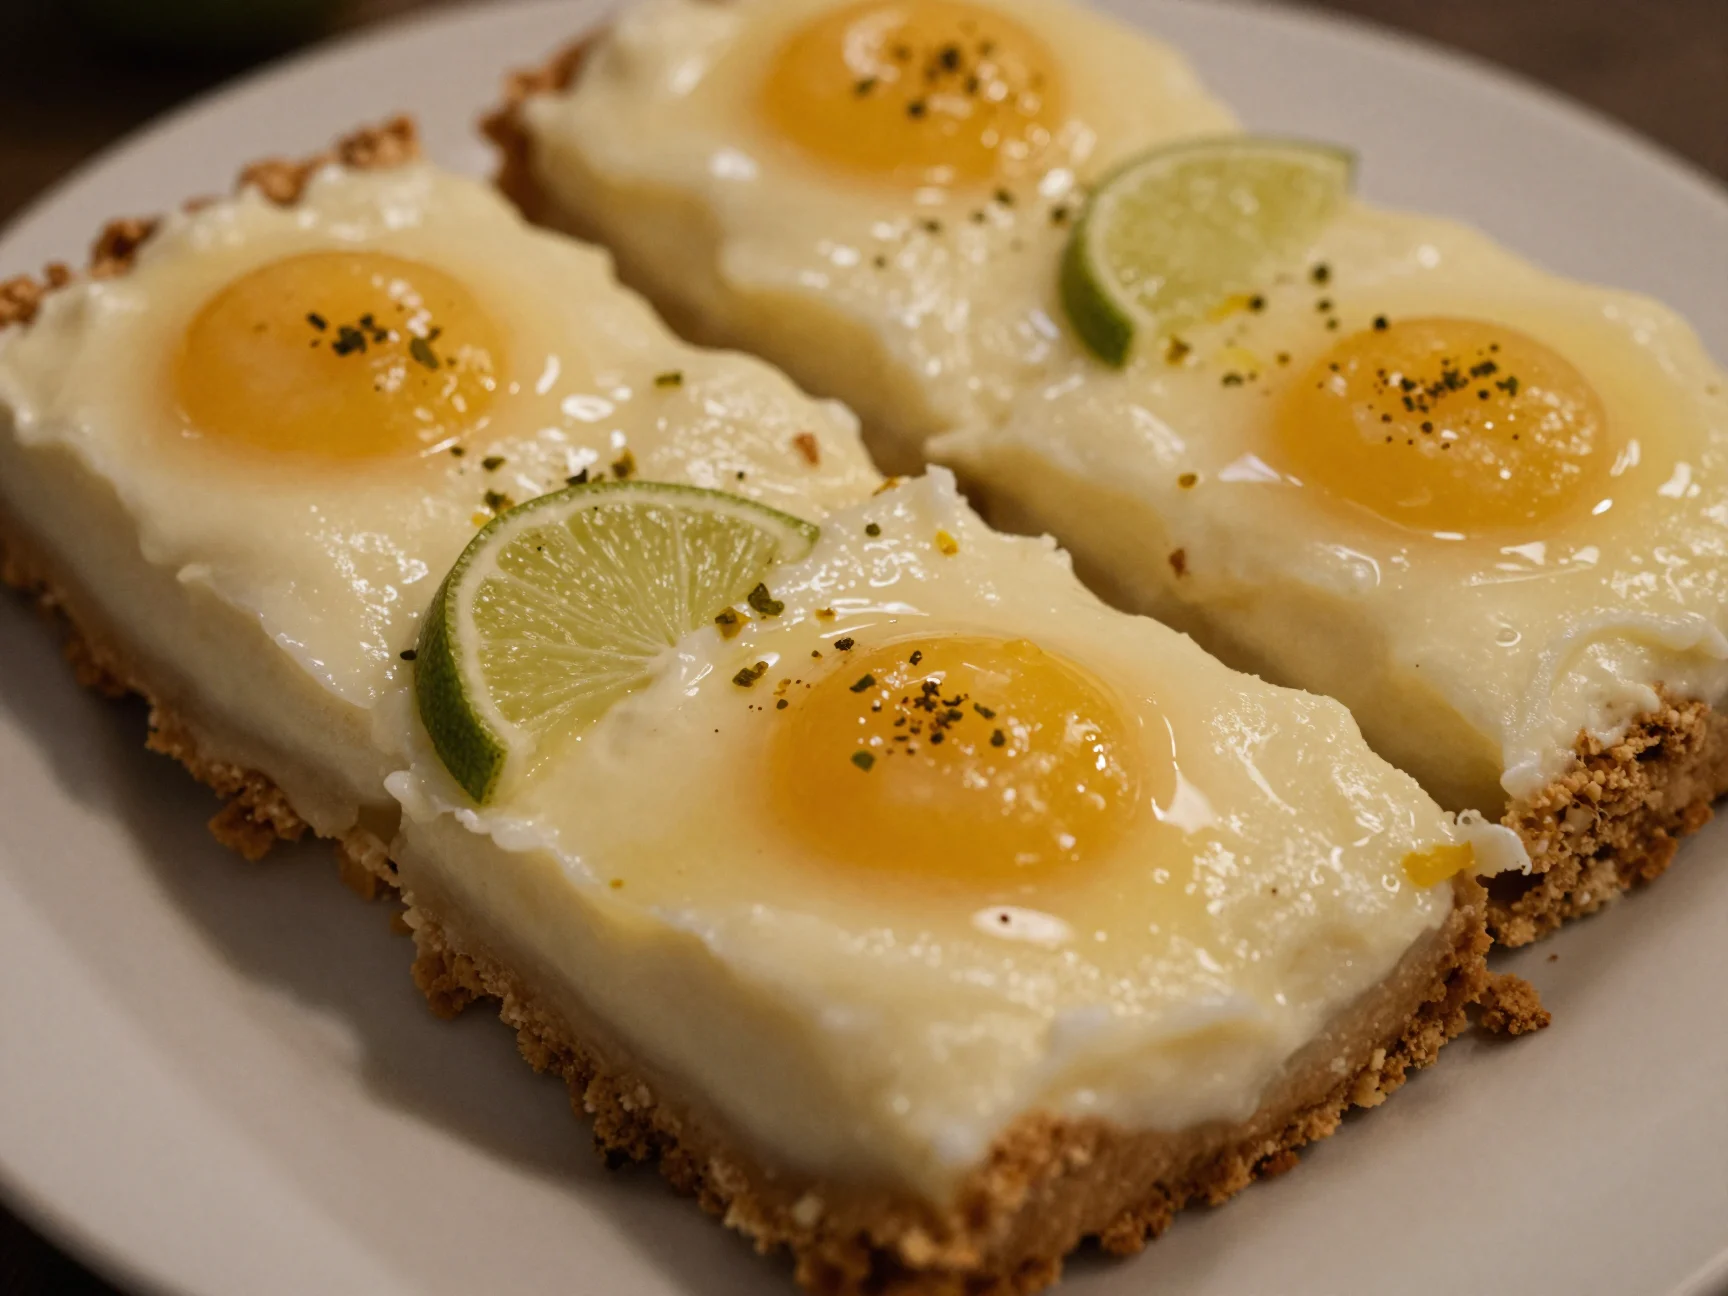
Key Lime Pie Bars
|
Getting your Trinity Audio player ready...
|
Every summer, my kitchen transforms into a citrus-scented sanctuary. My husband, Mateo, often says that the best memories start with a zingy lime. He spent years as a professional chef, so he knows exactly how to balance flavors.
Together, we taught our two daughters, who are now 19 and 15, that food represents the ultimate expression of love. Last July, we decided to perfect a recipe for Key Lime Pie Bars during a particularly humid afternoon. The girls wanted something refreshing, while Mateo insisted on a buttery, thick crust.
We sat around the kitchen island, laughing and zesting limes until our fingers turned green. These Key Lime Pie Bars quickly became our family’s favorite summer tradition. They offer the perfect balance of tart lime juice and sweet condensed milk.
Whenever I make these Key Lime Pie Bars, I think about those lazy afternoons and the joy of simple, nourishing treats. They represent everything we believe about cooking. You do not need fancy equipment or expensive ingredients to create something spectacular.
You just need fresh citrus, a bit of patience, and plenty of love. This recipe for Key Lime Pie Bars delivers a professional-grade dessert right in your own home. Our oldest daughter even takes a batch to her college dorm to share with friends. Everyone agrees that these Key Lime Pie Bars taste like sunshine on a plate.
Why You Will Love These Key Lime Pie Bars
You will absolutely adore these Key Lime Pie Bars because they simplify the classic pie without losing any of the flavor. Traditional pies often require a lot of fuss with the crust and careful slicing. However, these Key Lime Pie Bars come together in a rectangular pan, which makes serving a breeze.
The texture provides a wonderful contrast between the crunchy graham cracker base and the silky smooth lime filling. Additionally, these Key Lime Pie Bars utilize basic pantry staples that you likely already have. Mateo always reminds me that simplicity often leads to the best culinary results.
You will find that the tartness of the key lime juice cuts through the richness of the sweetened condensed milk perfectly. Furthermore, these Key Lime Pie Bars are incredibly portable. You can pack them for a picnic or bring them to a neighborhood potluck without worrying about a messy pie tin.
My younger daughter loves how the zest adds little pops of color and intense flavor to every bite. If you enjoy desserts that balance sweet and sour notes, these Key Lime Pie Bars will become your new go-to recipe. They offer a refreshing finish to any meal, especially after a heavy barbecue. Plus, the bright yellow and green hues make these Key Lime Pie Bars look beautiful on any dessert table.
Ingredients You Will Need
To create the perfect batch of Key Lime Pie Bars, you need fresh and high-quality ingredients. We always recommend using real key limes if you can find them. They possess a unique floral aroma that regular Persian limes lack.
However, do not worry if your local store only stocks standard limes. Your Key Lime Pie Bars will still taste delicious. Here is the list of everything you need to gather before you start baking.
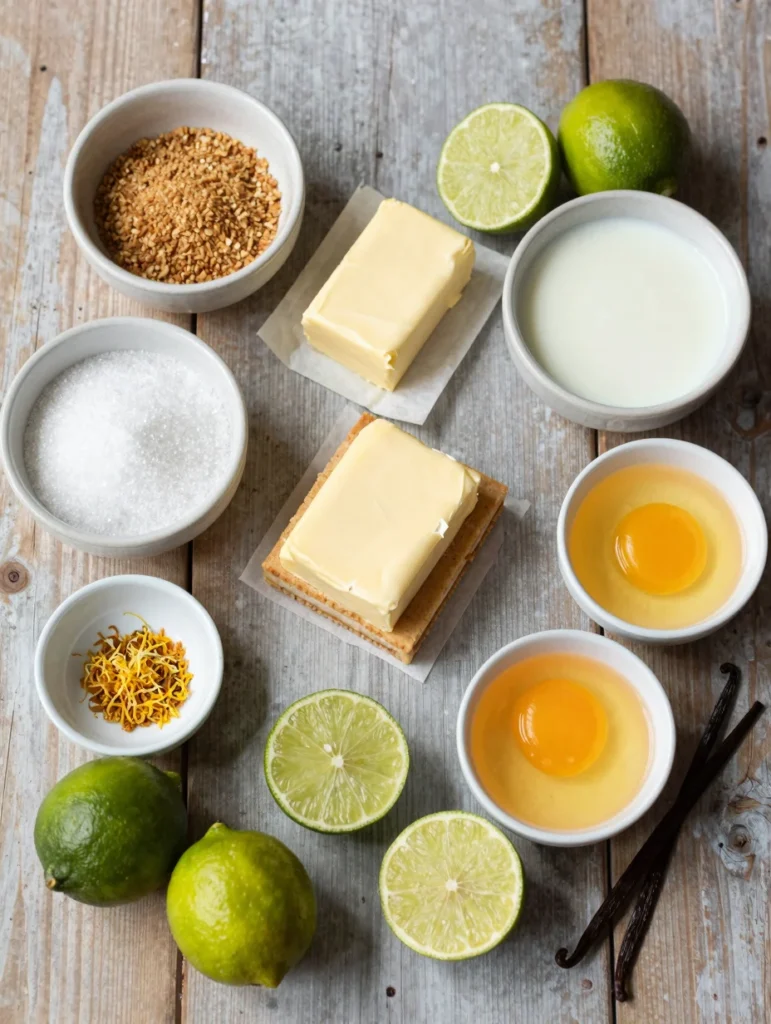
| Ingredient | Amount | Purpose |
|---|---|---|
| Graham Cracker Crumbs | 2 Cups | Creates a sturdy, buttery base for the bars. |
| Unsalted Butter, Melted | 1/2 Cup | Binds the crumbs together and adds richness. |
| Granulated Sugar | 1/4 Cup | Sweetens the crust slightly. |
| Sweetened Condensed Milk | 28 Ounces (2 cans) | Provides the creamy, sweet structure of the filling. |
| Key Lime Juice | 1 Cup | The star ingredient that provides the signature tartness. |
| Egg Yolks | 4 Large | Ensures a thick, custard-like consistency. |
| Key Lime Zest | 2 Tablespoons | Adds intense citrus fragrance and oils. |
| Vanilla Extract | 1 Teaspoon | Enhances the overall flavor profile. |
Substitutions & Variations
We believe recipes should serve as a guide, not a rigid set of rules. You can easily adapt these Key Lime Pie Bars to suit your dietary needs or flavor preferences. For example, if you want a gluten-free version, simply swap the graham crackers for your favorite gluten-free cookies or cracker crumbs.
The Key Lime Pie Bars will still hold their shape beautifully. If you cannot find key limes, use a mixture of regular lime juice and a splash of lemon juice. This combination mimics the acidity of authentic key limes quite well.
Some people even enjoy adding a tropical twist to their Key Lime Pie Bars. You might try replacing half of the butter in the crust with coconut oil. Additionally, sprinkling shredded coconut over the top before baking adds a lovely texture.
For a more decadent experience, fold a bit of Greek yogurt into the filling. This makes the Key Lime Pie Bars even tangier and creamier. Mateo sometimes likes to add a pinch of sea salt to the crust to balance the sugar.
If you prefer a thicker crust, simply increase the cracker crumbs and butter by twenty-five percent. No matter how you choose to modify these Key Lime Pie Bars, the core flavors will always shine through. Experimenting with different crusts, such as ginger snaps or vanilla wafers, can also give your Key Lime Pie Bars a whole new personality.
We believe recipes should serve as a guide, not a rigid set of rules. You can easily adapt these Key Lime Pie Bars to suit your dietary needs or flavor preferences. For example, if you want a gluten-free version, simply swap the graham crackers for your favorite gluten-free cookies or cracker crumbs. The Key Lime Pie Bars will still hold their shape beautifully. If you cannot find key limes, use a mixture of regular lime juice and a splash of lemon juice. For more delicious adaptations, check out our Turkey Smash Burgers.
Step-by-Step Instructions
Follow these simple steps to ensure your Key Lime Pie Bars turn out perfectly every single time. Start by preheating your oven to 350 degrees Fahrenheit (175 degrees Celsius). Line a 9×13 inch baking pan with parchment paper, leaving an overhang on the sides.
This trick allows you to lift the Key Lime Pie Bars out of the pan easily later. In a medium bowl, combine the graham cracker crumbs, melted butter, and granulated sugar. Stir the mixture until it looks like wet sand.
Press the mixture firmly into the bottom of the prepared pan. Use the bottom of a measuring cup to ensure an even layer. Bake the crust for 10 minutes until it turns golden brown.
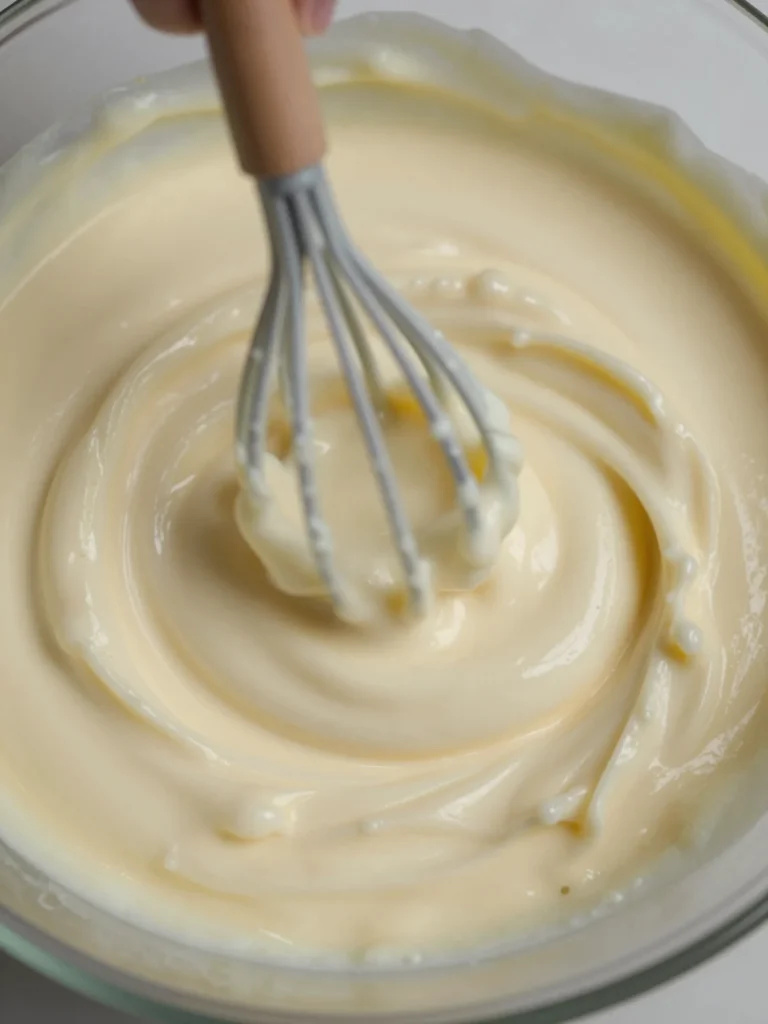
Remove the pan from the oven and let it cool slightly while you prepare the filling. In a large mixing bowl, whisk together the egg yolks and key lime zest. Continue whisking for about two minutes until the yolks appear pale.
This step adds a bit of air and lightness to your Key Lime Pie Bars. Gradually whisk in the sweetened condensed milk until the mixture becomes smooth. Finally, pour in the key lime juice and vanilla extract.
Whisk gently until everything incorporates fully. The acid in the lime juice will actually start to thicken the milk immediately. Pour this creamy filling over the pre-baked crust.
Smooth the top with a spatula. Return the pan to the oven and bake the Key Lime Pie Bars for 15 to 18 minutes. You want the edges to set, but the center should still have a slight jiggle.
Do not overbake them, or the filling might crack. Remove the pan from the oven and place it on a wire rack. Let the Key Lime Pie Bars cool to room temperature completely.
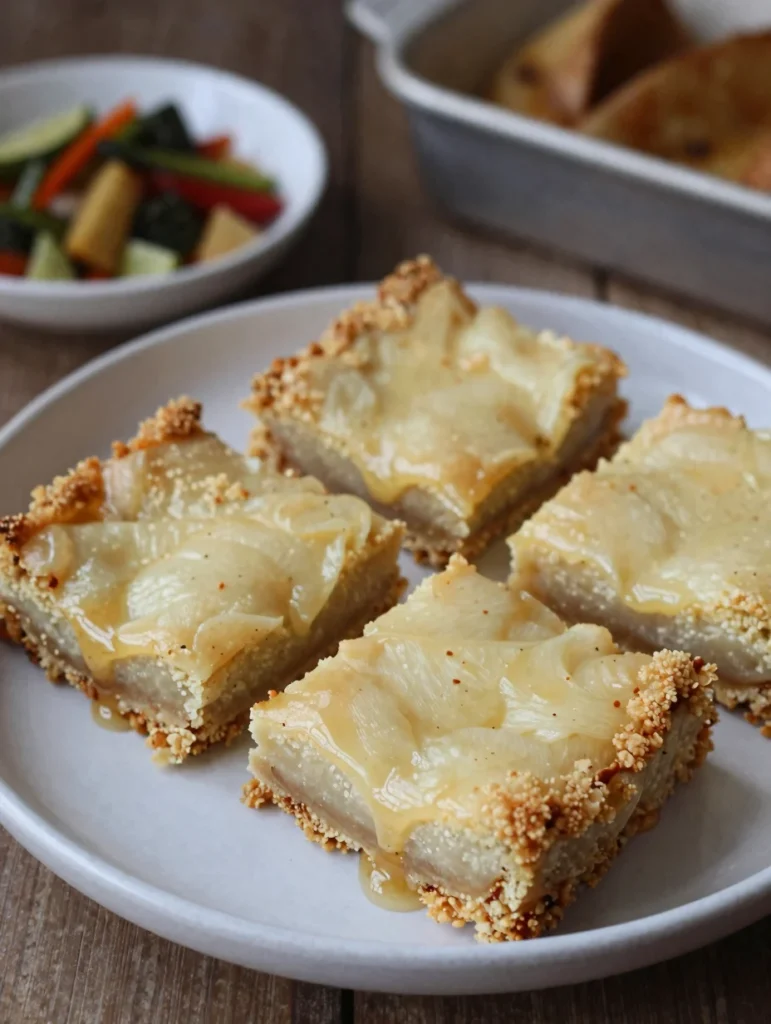
This process usually takes about an hour. Afterward, transfer the pan to the refrigerator for at least three hours, though overnight is better. Once chilled, lift the bars out using the parchment paper and slice them into squares.
Pro Tips for Success
Achieving the perfect texture for Key Lime Pie Bars requires a few professional secrets from Mateo’s kitchen. First, always use room temperature ingredients, especially the egg yolks and condensed milk. This ensures a smoother emulsion and prevents lumps in your Key Lime Pie Bars filling.
Second, do not skip the zesting process. Most of the lime’s aromatic oils reside in the skin, which provides that deep citrus flavor. When you zest the limes for your Key Lime Pie Bars, avoid the white pith underneath the green skin, as it tastes bitter.
Third, use a very sharp knife to cut your bars. To get clean, professional-looking slices, wipe the knife blade with a damp cloth between every single cut. This prevents the sticky filling from dragging across the Key Lime Pie Bars.
Fourth, give the bars plenty of time to set in the fridge. Cutting them too early will result in a messy, soft center. We recommend making these Key Lime Pie Bars the day before you plan to serve them.
Finally, if you want to impress your guests, garnish each bar with a small dollop of whipped cream and a thin slice of lime. This simple touch makes the Key Lime Pie Bars look like they came from a high-end bakery. Mateo always says that we eat with our eyes first, so presentation matters!
Achieving the perfect texture for Key Lime Pie Bars requires a few professional secrets from Mateo’s kitchen. First, always use room temperature ingredients, especially the egg yolks and condensed milk. This ensures a smoother emulsion and prevents lumps in your Key Lime Pie Bars filling. Second, do not skip the zesting process. Most of the lime’s aromatic oils reside in the skin, which provides that deep citrus flavor. When you zest the limes for your bars, remember to check out our Ground Turkey Lettuce Wraps for more tips on enhancing your dishes.
Storage & Reheating Tips
Proper storage ensures that your Key Lime Pie Bars stay fresh and delicious for several days. Because of the dairy and egg content, you must keep these bars in the refrigerator. Place the Key Lime Pie Bars in an airtight container to prevent them from absorbing other odors in the fridge.
They will maintain their best quality for up to five days. If you want to store them longer, you can actually freeze Key Lime Pie Bars quite successfully. Wrap individual squares tightly in plastic wrap and then place them in a freezer-safe bag.
They will stay fresh in the freezer for up to three months. When you feel like a treat, just thaw a bar in the refrigerator for an hour. Interestingly, some members of our family actually enjoy eating these Key Lime Pie Bars while they are still semi-frozen.
It gives them a texture similar to an ice cream bar! We do not recommend reheating these bars. Heat will cause the custard to break and the crust to become soggy.
These Key Lime Pie Bars definitely taste best when served cold, straight from the refrigerator. Always keep them chilled until the moment you are ready to serve to maintain the best consistency.
What to Serve With This Recipe
These Key Lime Pie Bars stand alone as a fantastic dessert, but you can certainly pair them with other items for a full spread. We love serving them alongside fresh berries, such as raspberries or strawberries. The slight tartness of the berries complements the lime perfectly.
If you are hosting a summer party, consider serving these Key Lime Pie Bars with a cold glass of iced tea or a sparkling hibiscus lemonade. For an extra treat, a scoop of coconut sorbet or vanilla bean ice cream goes wonderfully with a warm afternoon and a cold bar. If you want to keep things light, a simple fruit salad with a honey-mint dressing works beautifully.
Mateo often suggests a light seafood dinner, like grilled shrimp or fish tacos, before bringing out the Key Lime Pie Bars. The citrus notes in the bars cleanse the palate and provide a refreshing end to the meal. You could even set up a “topping bar” where guests can add extra whipped cream, toasted macadamia nuts, or white chocolate shavings to their Key Lime Pie Bars.
This adds a fun, interactive element to your gathering. No matter what you choose, these Key Lime Pie Bars will remain the star of the show.
These Key Lime Pie Bars stand alone as a fantastic dessert, but you can certainly pair them with other items for a full spread. We love serving them alongside fresh berries, such as raspberries or strawberries. The slight tartness of the berries complements the lime perfectly. If you are hosting a summer party, consider serving these Key Lime Pie Bars with a cold glass of iced tea or a sparkling hibiscus lemonade. For an extra treat, a scoop of coconut ice cream would be delightful. For more dessert inspiration, explore our Lemon Curd Tart.
FAQs
Can I use bottled lime juice for Key Lime Pie Bars?
Yes, you can use bottled lime juice for Key Lime Pie Bars if fresh limes are unavailable. However, look for a high-quality “Key Lime Juice” brand rather than standard bottled lime juice. The flavor will be much closer to the authentic taste. Fresh juice always provides the best results, but bottled juice offers a convenient alternative for busy weeks.
Why did my Key Lime Pie Bars turn out runny?
If your Key Lime Pie Bars seem runny, you likely did not bake them long enough or did not let them chill sufficiently. The egg yolks and the acid in the lime juice need heat to set the custard. Furthermore, the cooling period in the refrigerator is crucial for the final firm texture. Always chill them for at least three hours before slicing.
Can I make Key Lime Pie Bars without eggs?
Making Key Lime Pie Bars without eggs is difficult because the yolks provide the necessary structure. However, some vegan recipes use cornstarch and coconut milk as alternatives. For this specific recipe, the egg yolks are essential for that traditional, creamy consistency. If you have an egg allergy, you may need a completely different base recipe.
How do I zest a lime properly for this recipe?
Use a microplane or a fine grater to zest your limes for the Key Lime Pie Bars. Only grate the very outer green layer of the skin. Stop as soon as you see the white pith underneath. The green part contains the flavorful oils, while the white part is quite bitter and can ruin the flavor of your dessert.
Do Key Lime Pie Bars need to be refrigerated?
Yes, you must always refrigerate Key Lime Pie Bars. They contain egg yolks and sweetened condensed milk, which are perishable. Leaving them at room temperature for more than two hours can compromise food safety. Additionally, the bars maintain their firm structure and refreshing taste much better when kept cold.
Key Lime Pie Bars are a delicious twist on the classic key lime pie, offering a convenient and easy-to-serve dessert option. These bars maintain the signature tartness of key limes while providing a creamy filling and a crunchy crust, making them a favorite for summer gatherings. Learn more about this delightful dessert here.
Nutrition Information (per serving)
This information provides an estimate based on cutting the pan into 24 standard-sized Key Lime Pie Bars. Actual values may vary depending on the specific brands of ingredients you use.
| Nutrient | Amount Per Serving |
|---|---|
| Calories | 210 kcal |
| Total Fat | 9g |
| Saturated Fat | 5g |
| Cholesterol | 55mg |
| Sodium | 115mg |
| Total Carbohydrates | 28g |
| Dietary Fiber | 0.5g |
| Sugars | 22g |
| Protein | 4g |
Cooking for my family brings me so much peace. These Key Lime Pie Bars represent the love and care we put into every meal. Whether you are an experienced baker like Mateo or a beginner, I hope this recipe brings a little extra joy to your kitchen.
These Key Lime Pie Bars are more than just a dessert; they are a way to celebrate summer and the people you love. Enjoy every tart and sweet bite!
Key Lime Pie Bars
Ingredients
Method
- Preheat your oven to 350 degrees Fahrenheit (175 degrees Celsius). Line a 9x13 inch baking pan with parchment paper.
- In a medium bowl, combine the graham cracker crumbs, melted butter, and granulated sugar. Press the mixture into the bottom of the prepared pan.
- Bake the crust for 10 minutes until golden brown. Let it cool slightly.
- In a large mixing bowl, whisk together the egg yolks and key lime zest until pale. Gradually whisk in the sweetened condensed milk until smooth.
- Pour in the key lime juice and vanilla extract, whisking gently until fully incorporated.
- Pour the filling over the pre-baked crust and smooth the top. Bake for 15 to 18 minutes until the edges are set but the center jiggles slightly.
- Let the bars cool to room temperature, then refrigerate for at least three hours before slicing.
Notes
Or browse by category:
As an Amazon Associate I earn from qualifying purchases.