Irresistible Coffee Ice Cream Recipe for Home Chefs
|
Getting your Trinity Audio player ready...
|
Last summer, my youngest daughter came home from a coffee shop absolutely raving about their espresso ice cream. She begged me to recreate it at home, and honestly, I couldn’t resist the challenge. After several batches and many taste tests (the hardest part of my job, right?), Mateo and I perfected this coffee ice cream recipe.
Now, it’s our family’s go-to dessert when we need something special yet surprisingly simple. The rich, creamy texture combined with that bold coffee flavor makes this coffee ice cream absolutely irresistible.
Making homemade coffee ice cream transforms your kitchen into an artisan ice cream parlor. Furthermore, you control every ingredient, ensuring quality and freshness. My 19-year-old actually prefers this version to any store-bought option, which says everything. Whether you’re a coffee lover or simply crave something deliciously different, this recipe delivers every single time.
Why You’ll Love This Coffee Ice Cream Recipe
This coffee ice cream stands out for countless reasons. First, it requires only six basic ingredients that you probably already have in your kitchen. Additionally, the preparation takes less than 20 minutes of active work. The ice cream maker does the heavy lifting while you relax.
The flavor profile hits perfectly between sweet and bold. Unlike some coffee ice creams that taste watered down, this recipe packs a genuine coffee punch. Meanwhile, the custard base creates an incredibly smooth, luxurious texture. No ice crystals here!
Moreover, this homemade coffee ice cream costs significantly less than premium store-bought varieties. You’ll impress guests without breaking the bank. My husband Mateo loves serving this at dinner parties, and everyone always requests the recipe. The compliments never stop coming.
Ingredients You’ll Need
Gathering your ingredients before starting makes the process seamless. Here’s everything required for this incredible coffee ice cream:
| Ingredient | Quantity |
|---|---|
| Heavy cream | 2 cups |
| Whole milk | 1 cup |
| Granulated sugar | 3/4 cup |
| Egg yolks | 5 large |
| Instant espresso powder | 3 tablespoons |
| Vanilla extract | 1 teaspoon |
The instant espresso powder provides concentrated coffee flavor without adding excess liquid. Consequently, your coffee ice cream maintains the perfect consistency. I always use quality espresso powder because it genuinely affects the final taste.
Substitutions & Variations
This coffee ice cream recipe welcomes creativity. If you can’t find instant espresso powder, substitute with finely ground coffee beans. Use 1/4 cup ground coffee steeped in the warm cream mixture, then strain completely.
For a lighter version, replace half the heavy cream with half-and-half. However, note that this slightly changes the richness. Alternatively, coconut cream works beautifully for dairy-free coffee ice cream. Just ensure it’s full-fat for proper texture.
Want mocha coffee ice cream? Add 1/4 cup cocoa powder to the mixture. My daughters absolutely adore this variation. Additionally, swirl in chocolate chips during the last churning minute for extra indulgence.
Try adding a tablespoon of coffee liqueur for sophisticated adult-only coffee ice cream. Meanwhile, caramel sauce ribbons create a delightful sweet contrast. The possibilities truly are endless with this versatile base recipe.
Step-by-Step Instructions
Creating perfect coffee ice cream follows a straightforward process. First, combine the heavy cream and whole milk in a medium saucepan. Heat the mixture over medium heat until it just begins steaming. Don’t let it boil.
Meanwhile, whisk together the egg yolks and sugar in a separate bowl. Beat them vigorously until the mixture becomes pale yellow and slightly thick. This step ensures smooth coffee ice cream without any scrambled egg texture.
Next, slowly pour about one cup of the warm cream mixture into the egg yolks while whisking constantly. This tempering process prevents the eggs from cooking too quickly. Then, pour everything back into the saucepan.
Cook the custard over medium-low heat, stirring continuously with a wooden spoon. The mixture should coat the back of the spoon when ready, usually after 8-10 minutes. Furthermore, it should register 170°F on a thermometer.
Remove from heat immediately and stir in the instant espresso powder and vanilla extract. The espresso powder dissolves instantly, infusing your coffee ice cream base with incredible flavor. Stir until completely incorporated.
Strain the mixture through a fine-mesh sieve into a clean bowl. This removes any possible lumps, ensuring silky-smooth coffee ice cream. Cover the bowl with plastic wrap, pressing it directly onto the surface to prevent skin formation.
Refrigerate the mixture for at least 4 hours, preferably overnight. Cold custard churns better and creates creamier coffee ice cream. Patience truly pays off here.
Finally, churn the chilled mixture in your ice cream maker according to manufacturer’s instructions. This usually takes 20-25 minutes. Transfer the soft coffee ice cream to a freezer-safe container and freeze for 4 hours until firm.
Pro Tips for Success
Temperature control makes or breaks coffee ice cream. Always use a thermometer when cooking the custard. Overheating creates scrambled eggs, while underheating produces runny ice cream.
Additionally, chilling your ice cream maker bowl for 24 hours beforehand ensures optimal results. A properly frozen bowl churns coffee ice cream faster and smoother. I always keep mine in the freezer year-round.
Don’t skip straining the custard. Even experienced cooks sometimes get small lumps. Consequently, straining guarantees professional-quality coffee ice cream every time. This simple step makes a noticeable difference.
For deeper coffee flavor, Mateo suggests using freshly ground espresso beans. Steep them in the warm cream for 30 minutes, then strain thoroughly. This method creates extraordinarily rich coffee ice cream with complex notes.
Moreover, add a pinch of salt to enhance all the flavors. Salt balances sweetness and intensifies the coffee taste. Just a tiny amount transforms good coffee ice cream into spectacular ice cream.
Storage & Reheating Tips
Store your coffee ice cream in an airtight, freezer-safe container. Press parchment paper directly onto the surface before sealing to prevent ice crystals. Properly stored coffee ice cream stays fresh for up to two months.
However, homemade ice cream tastes best within the first two weeks. The texture remains creamiest during this window. Unlike commercial varieties, homemade coffee ice cream contains no stabilizers or preservatives.
If your coffee ice cream becomes too hard, let it sit at room temperature for 5-10 minutes before scooping. Alternatively, microwave the scoop for just 5 seconds. Never fully thaw and refreeze, as this ruins the texture.
What to Serve With This Recipe
This coffee ice cream pairs wonderfully with warm desserts. Serve it alongside brownies, apple pie, or chocolate cake. The temperature contrast creates an incredible eating experience. Furthermore, the coffee flavor complements chocolate beautifully.
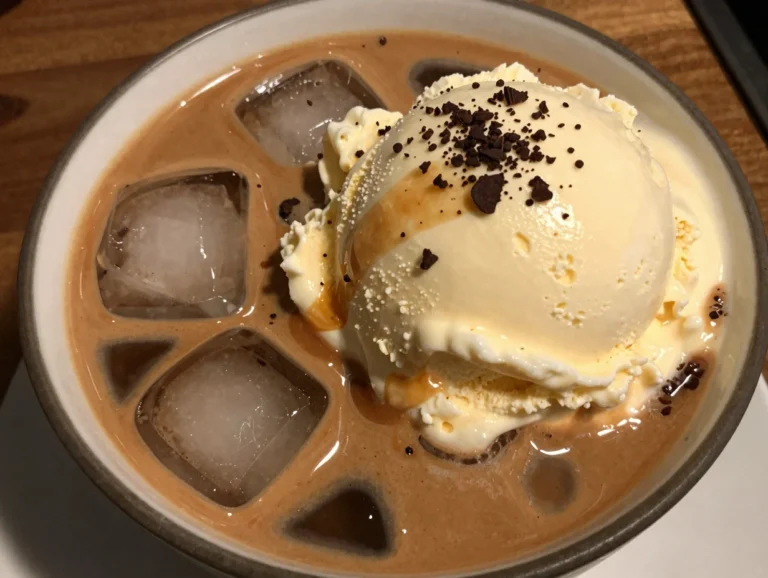
Try affogato-style by pouring hot espresso over a scoop of coffee ice cream. This Italian dessert impresses everyone yet requires minimal effort. My husband serves this at special dinners with amazing results.
Additionally, coffee ice cream works perfectly in milkshakes. Blend it with cold brew coffee and a splash of cream for an indulgent treat. Top with whipped cream and chocolate shavings for extra flair.
Create ice cream sandwiches using chocolate chip cookies or shortbread. The combination tastes absolutely divine. Moreover, waffle cones and coffee ice cream make classic summer treats that everyone loves.
FAQs
Can I make coffee ice cream without an ice cream maker?
Yes, you can make coffee ice cream without a machine. Pour the chilled custard into a shallow container and freeze. Every 30 minutes, vigorously stir the mixture with a fork for 3-4 hours. This manual method creates decent texture, though not as smooth as churned coffee ice cream.
Why is my coffee ice cream icy instead of creamy?
Icy coffee ice cream usually results from insufficient fat content or improper churning. Ensure you use full-fat dairy products. Additionally, make sure your custard reaches proper temperature and chills completely before churning. Finally, freeze promptly after churning.
Can I use regular coffee instead of espresso powder?
Absolutely! Brew very strong coffee and let it cool completely. Use 1/2 cup of concentrated coffee instead of espresso powder.
However, this adds liquid, so reduce the milk by 1/2 cup. The coffee ice cream flavor will be slightly milder but still delicious.
How do I prevent ice crystals in homemade coffee ice cream?
Several techniques prevent ice crystals in coffee ice cream. First, ensure the custard chills completely before churning. Second, churn quickly in a properly frozen ice cream maker.
Third, press plastic wrap directly on the surface during storage. Finally, maintain consistent freezer temperature.
Can I make this coffee ice cream recipe vegan?
Yes, you can create vegan coffee ice cream. Replace heavy cream with full-fat coconut cream and milk with coconut or oat milk. Instead of egg yolks, use 2 tablespoons of cornstarch dissolved in the cold milk. The texture differs slightly but remains delicious and creamy.
Nutrition Information (per serving)
Based on 8 servings:
| Nutrient | Amount |
|---|---|
| Calories | 320 |
| Total Fat | 24g |
| Saturated Fat | 14g |
| Cholesterol | 185mg |
| Sodium | 45mg |
| Total Carbohydrates | 22g |
| Sugars | 21g |
| Protein | 4g |
This coffee ice cream provides a rich, indulgent treat. Enjoy it mindfully as part of a balanced diet. The homemade version contains no artificial ingredients or preservatives, making it a cleaner choice than many commercial options.
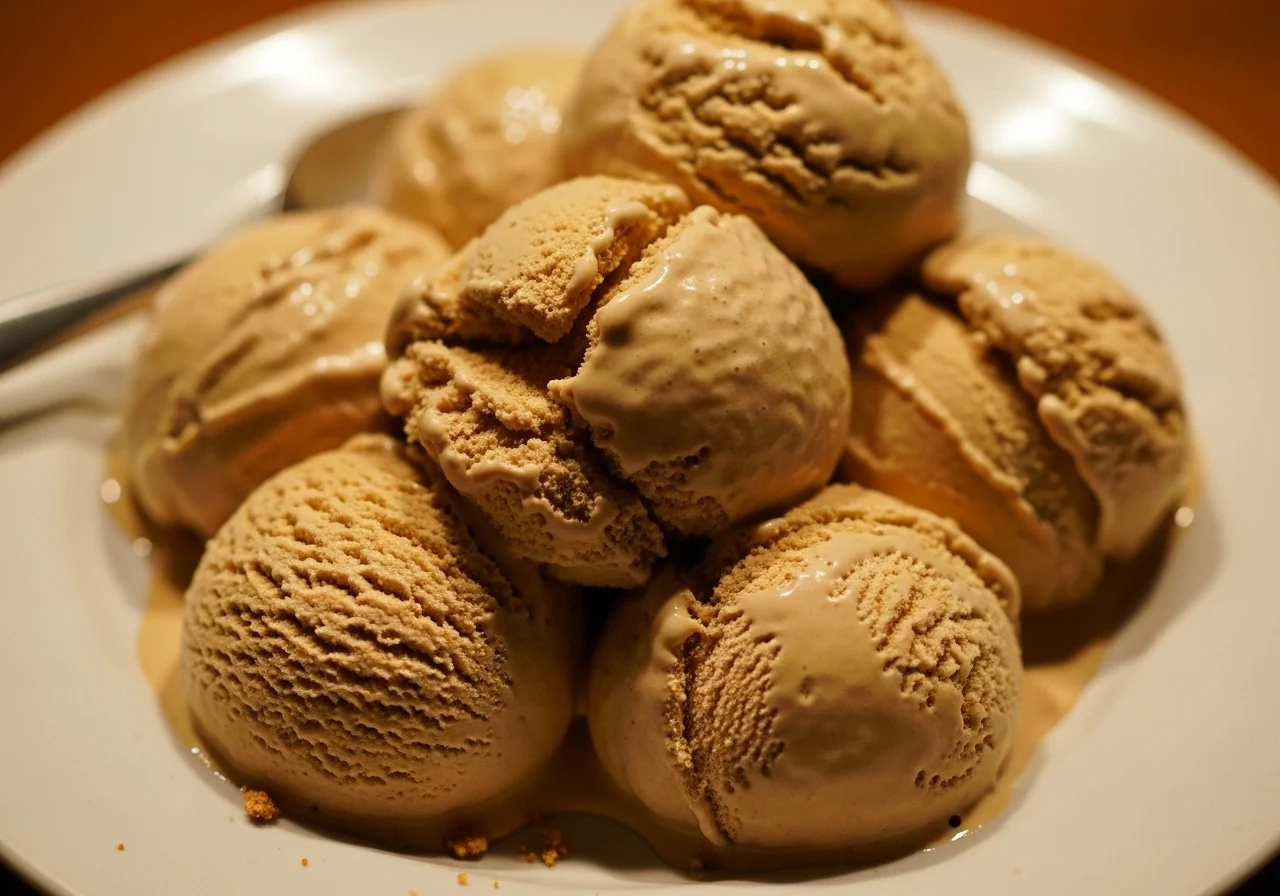
coffee ice cream
Ingredients
Method
- Combine heavy cream and whole milk in a medium saucepan and heat until steaming.
- Whisk egg yolks and sugar in a separate bowl until pale yellow and thick.
- Slowly pour 1 cup of warm cream mixture into egg yolks while whisking constantly.
- Pour the egg mixture back into the saucepan and cook over medium-low heat, stirring continuously until it coats the back of a spoon.
- Remove from heat and stir in instant espresso powder and vanilla extract.
- Strain the mixture through a fine-mesh sieve into a clean bowl and cover with plastic wrap.
- Refrigerate for at least 4 hours or overnight.
- Churn the chilled mixture in an ice cream maker according to manufacturer’s instructions.
- Transfer to a freezer-safe container and freeze for 4 hours until firm.
Notes
Or browse by category:
As an Amazon Associate I earn from qualifying purchases.